

Your first Japan trip becomes much easier when the important decisions are finished before departure. This checklist focuses on the items that affect entry, payments, transport, hotel check-in, and your first hour after landing. Save the optional restaurant list for later; confirm these basics first.
If you are still building the route, start with the 7 Days in Japan itinerary. Use the where to stay hub and transport hub for the next layer of planning.
Six to eight weeks before departure
- Check your passport and entry rules. Visa exemptions and passport conditions depend on nationality. Use the Ministry of Foreign Affairs page rather than a social post or airline summary.
- Choose the route before the hotels. Confirm the cities and number of nights so you do not pay to backtrack.
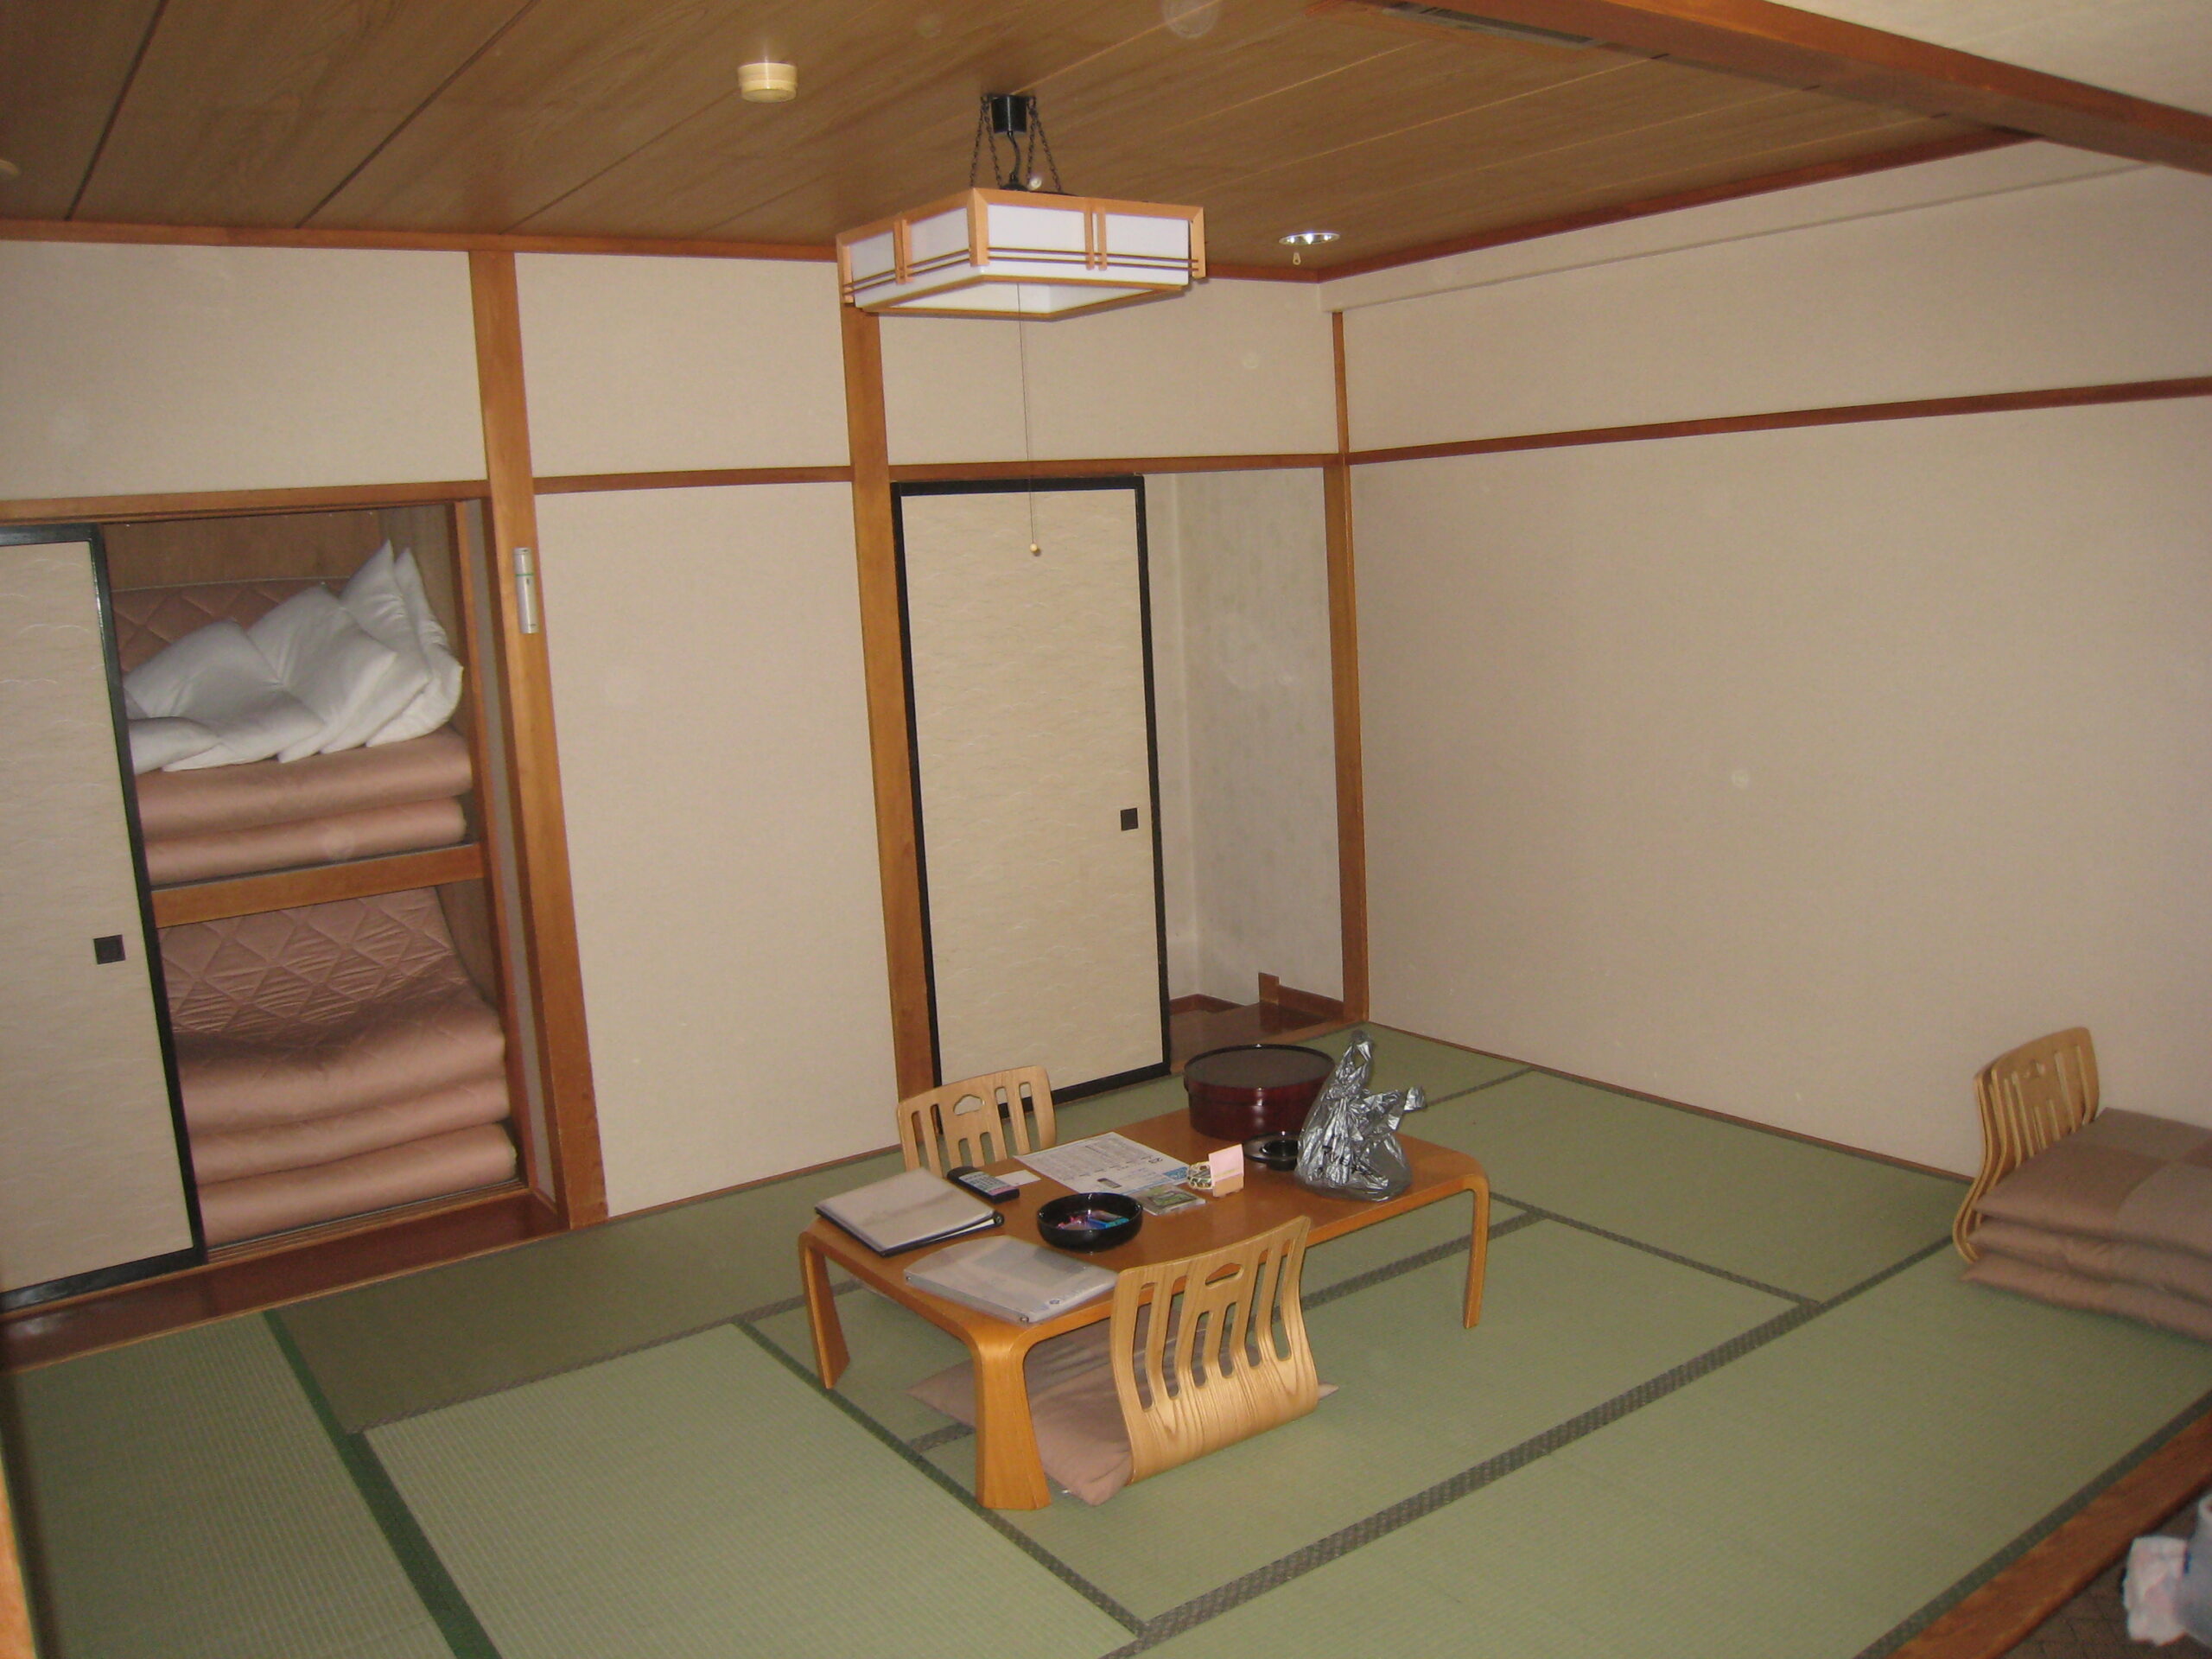
- Book the first hotel carefully. Keep its name, address, and phone number available for arrival forms and late check-in.
- Review insurance. Confirm medical coverage, exclusions, emergency contacts, and whether you must pay costs upfront.
- Reserve scarce activities. Book only fixed-date attractions that would materially affect the itinerary.
Entry requirements can change. As of 2026-07-13, JNTO’s official FAQ points travelers to the current government visa guidance and nationality-specific conditions. Check the linked official guidance again shortly before departure instead of assuming that a previous trip or another traveler’s experience still applies.
One to two weeks before departure
- Set up Visit Japan Web. The Digital Agency service supports immigration and customs arrival procedures. Registration requires your passport, flight information, and email address.
- Save the QR code access plan. You must be able to display the code on a phone or tablet at arrival, so keep the account login and a backup connection plan available.
- Confirm the customs declaration. Japan Customs requires arriving passengers to declare their belongings and recommends electronic declaration through Visit Japan Web.
- Tell your bank you are traveling if required. Bring more than one payment method and keep issuer contact details separate from the cards.
- Download offline essentials. Save the first hotel, airport route, travel insurance contact, and key booking confirmations.
Money: bring a card and some cash
International cards are widely accepted, but not universally. Smaller restaurants, rural businesses, lockers, and some ticket machines may still require cash. JNTO identifies Japan Post Bank and Seven Bank ATMs as useful options for overseas cards. Start with a modest amount of yen and withdraw more when necessary instead of carrying the entire trip budget.
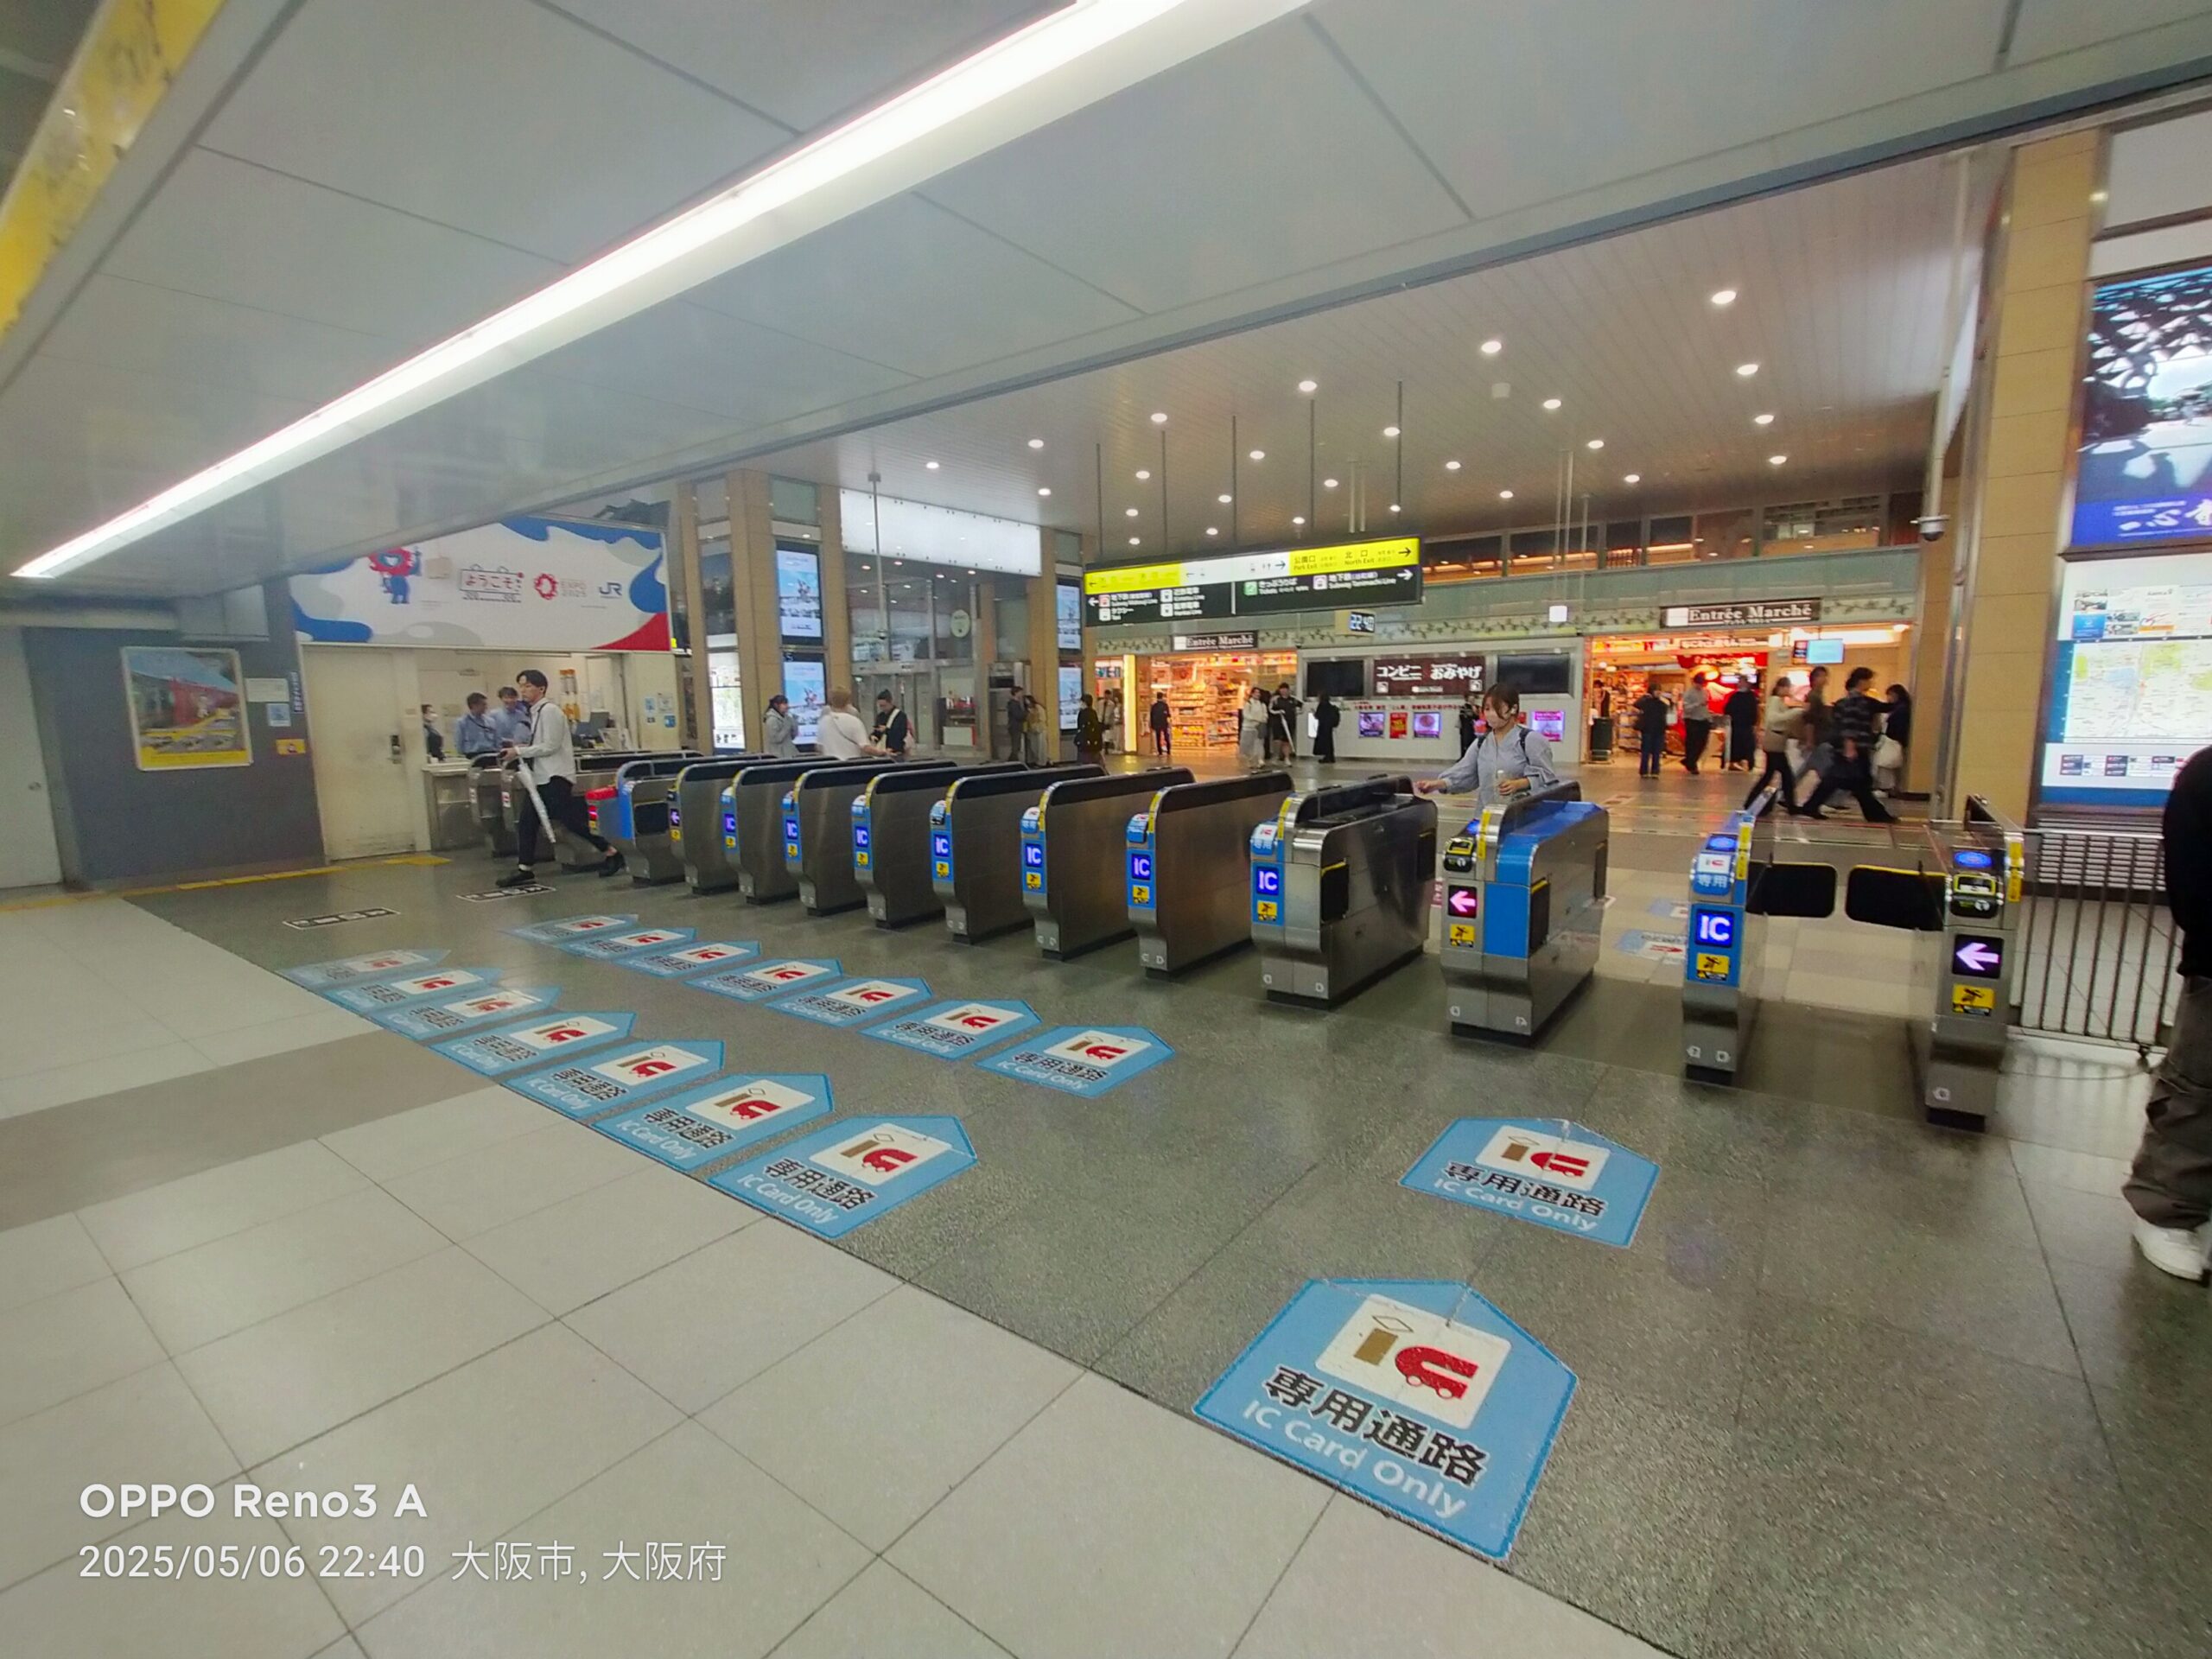
Do not rely on one card. A second card stored separately gives you a backup if a transaction is blocked or a wallet is lost. An IC card is useful for local transport and small purchases, but it is not a replacement for every train ticket or payment method.
Connectivity before arrival
Mobile data helps with station exits, platform changes, hotel messages, translation, and QR tickets. Decide before departure whether you will use roaming, an eSIM, or pocket Wi-Fi. If your phone supports eSIM, you can compare a Japan plan from Airalo after checking device compatibility and the activation instructions.
Install the plan while you still have reliable internet, but follow the provider’s instructions about when to activate it. Keep the hotel address and airport route available offline in case the connection takes a few minutes after landing.
Pack for movement, not only weather
- Use luggage you can lift onto a train rack or move through a station.
- Leave room for purchases rather than starting with a full suitcase.
- Carry medication in its original packaging and check Japanese import rules when relevant.
- Pack a small day bag for valuables, documents, water, and a battery pack.
- Choose comfortable shoes that are easy to remove when necessary.
Your arrival-hour checklist
- Connect to mobile data or airport Wi-Fi.
- Complete immigration and customs using the current official process.
- Withdraw a small amount of cash if needed.
- Set up or obtain the IC card that fits your region and device.
- Follow the saved airport-to-hotel route.
- Message the hotel if a delay puts you near the check-in deadline.
The best arrival plan is deliberately boring: one airport transfer, one hotel, and no time-sensitive attraction on the first evening. Once your bag is down and your phone works, the rest of the trip becomes much easier.
Sources checked: Digital Agency: Visit Japan Web, JNTO Japan Travel FAQ, Japan Customs passenger clearance, JNTO credit cards, and JNTO travel insurance. Checked 2026-07-13.